


Recently I wanted to do a personalised email to a list of select clients. I often use a dedicated marketing platform for my newsletters and though about using that, but I didn’t want to mess with the contact list. So I decided to see if I could use the tools I already had access to and it made sense to look at using the Microsoft suite, and doing an email merge using Microsoft Word and Outlook.
It’s not a solution that will give you the analytic reports that the dedicated email marketing platforms provide, but you don’t always need or want that. This is more of a solution that replaces adding several email addresses into the BCC field and using the salutation as ‘Dear Customer’.
For those who would like to try a personalised email merge using Microsoft Word and Outlook read on…
Data preparation
There are three ways to supply the data for the merge.
- Use your Outlook contact list.
- Create a new list within the merge.
- Use a CSV exported from a database then saved as an Excel sheet.
I went for the third option and worked with a tab or comma separated (.csv) file imported into a Microsoft Excel and saved as a .xlsx file.
The column headings I used were, fname, lname and email, you can use these or a variation that suits you. Further columns can be used for other bespoke merge fields and in this example, I’ve used one called number.
Create the email
If your emails normally contain a custom signature, go to Outlook and start a new email. Select all Ctrl+A, then copy that Ctrl+C. Mac users please use Command ⌘ instead of Ctrl. Start a new Word document and paste the contents of the email into Word Ctrl+V. You can now close the email without sending or saving.
Body content
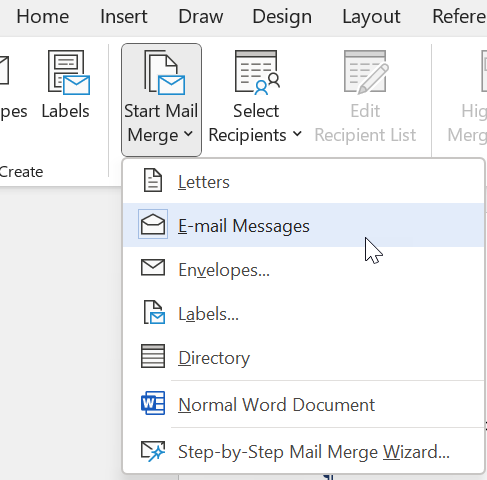
Now add the body of your email leaving two lines at the top. Once the body content is created or at least at a stage ready for review place your cursor on the first line and go to:
Mailings->Start Mail Merge -> E-mail Messages.
Adding your contacts
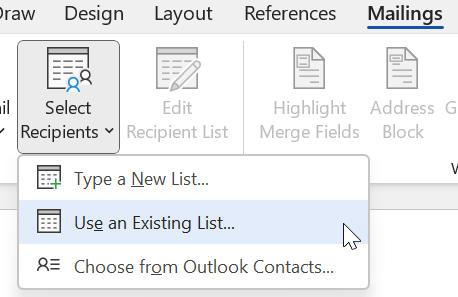
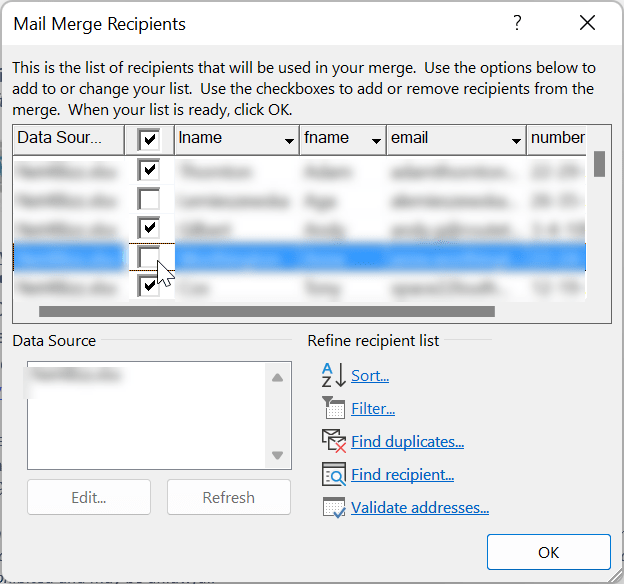
Select Recipients -> Use an Existing list.
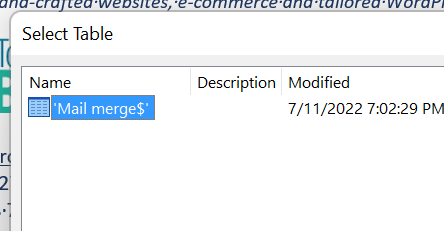
Select the worksheet and if you have column headers, which I hope you do have, as it makes understanding the data easier, tick the box to the left of ‘First row of data contains column headers’.
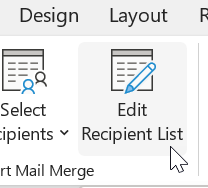
You can have the final say who is sent the personalised email on this screen. Switching off those that you don’t want to send to or if it’s just a small selection, tick the topmost box to switch them all off, then select the ones you do want.
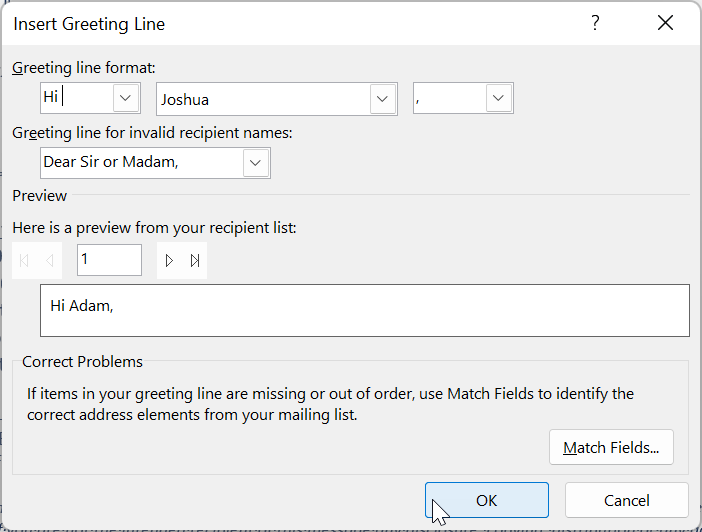
Greeting line or salutation
Put the cursor at the beginning of a new line at the top of your document.
The supplied options are bit formal for what I wanted so I edited it and made it ‘Hi ’.
You can view what it looks like in the bottom box and don’t forget to add a space after ‘Hi’.
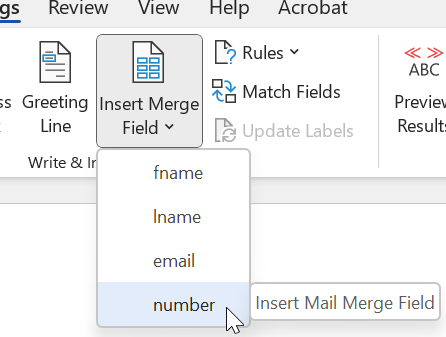
Other custom fields
Now put your cursor where you want the custom data to go and then Insert Merge Field. In this case selecting number. You can format this tag by highlighting it and for example making it bold Ctrl+B.
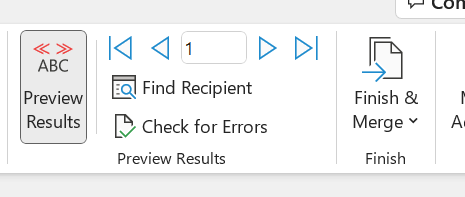
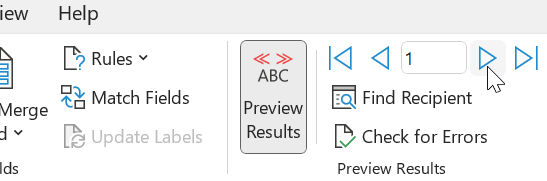
Preview results
It’s worth previewing the results to ensure that the data has been pulled in correctly and is formatted in the style that looks good for the document. If it looks good, great. If not make the relevant adjustments.
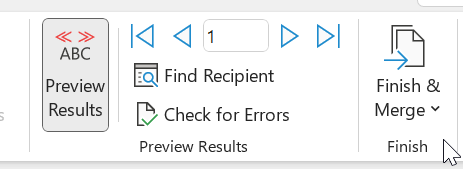
Send the emails
And finally Finish & Merge.
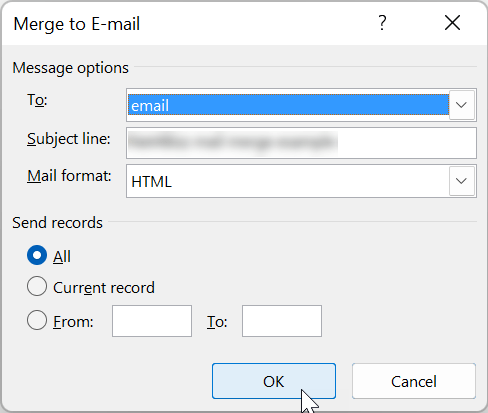
- Select the email data column.
- Add a suitable subject line.
- And to preserve any images and formatting that you have used in the email, select HTML.
Select the OK button and sit back and watch those personalised emails go!
This is just a basic outline of what can be achieved. There many more options available. If you are a person who has multiple Outlook Contact groups that may be a better way for you to merge the emails. Have a go and see what happens!
 From the Domain, Education & Email categories
 Improve your professional standing
The domain you use for your business emails, tells how much your care about your digital communications. A generic, gmail.com, hotmail.com or live.com just lacks the professional touch your business needs. Register a domain that fits your business and use that to standout.